Train Sim allows players to design their own custom levels to drive trains on. Some of the customization includes:
- Raising and lowering terrain
- Placing objects such as buildings, vehicles & trees
- Modifying track shapes
Creative Editor Modes
The editor has three modes accessible via a menu located in the top of the screen:

Build Mode
Use Build Mode to add new buildings, scenery, and items to your level. Cycle through available items with the arrow buttons or tap the random button. Existing objects are locked in Build Mode so you won’t accidentally move them while placing new ones.
Edit Mode
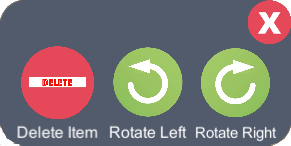
Use Edit Mode to modify objects you’ve already placed. Tap any object to select it and drag the selected object to reposition it. A new sub menu will show up that will allow you to rotate or delete a selected item. Tap empty ground to deselect the item.

Track control points are also only visible and editable in Edit Mode drag the white control points to reshape the train track.

Terrain Mode
Use Terrain Mode to sculpt the terrain height. The Raise Terrain tool is selected by default. The active tool is highlighted so you can always see which one is selected.
Placing Objects
Placing items into the custom environment is accomplished by dragging and dropping the currently selected item into the position in the custom environment you would like the object placed at. Available only in Build Mode

To change the currently selected item simply use the up and down arrows.
Undo

If you placed an item that you would like to remove from your environment you can use the Undo button. You can Undo up to the last 10 items you placed.
Editing an Existing Item
When in Edit Mode you can rotate or delete an existing item by selecting and item placed in the environment and using the rotate and delete buttons that will apear after you select an item such as a building tree etc.
Editing a Terrain

To edit the terrain you first have to switch to the Terrain Edit Mode. This is done by clicking or tapping on the Terrain Edit button.
Once you are in the Terrain Edit mode you have 3 Terrain Tools. Each tool can be activated by tapping or clicking on their corresponding Icon.
Raise Terrain Tool

Allows you to increase the height of the terrain. Once the tool is activated you can raise portions of the terrain by tapping or clicking anywhere you would like the terrain to be raised.
Lower Terrain Tool
Allows you to decrease the height of the terrain. Once this tool is activated you can lower portions of the terrain by tapping or clicking anywhere you would like the terrain to be lowered. If you lower the terrain enough it will expose water. This way you can create lakes and rivers.
Flatten Terrain Tool
Allows you to return the terrain to its original Haight. Once this took is activated you can return the height of the terrain to its original height by tapping or clicking anywhere you would like the terrain to return its original height.
Changing Terrain Type

You can also change the terrain texture by clicking on the Terrain Type button. This will cycle through a predefined types of terrains. If you do not like the current choice, tapping or clicking through all available terrain types will eventually returns you to your original choice.
Flatten all Terrain

If you are not happy with you terrain height design you can reset the terrain to its original level by pressing on the Flatten All Terrain tool.
Exiting the Terrain Tools Menu

To exit the Terrain Tools Mode and go back to the item placement mode press the above icon.
Modifying Track Shape
You can modify the track shape in Edit Mode by moving the white control points on the track.
On touch devices this is accomplished by touching the control point with a single finger and dragging it your finger in any direction.
On devices with a mouse you can move the track control points by left clicking them and moving the mouse while continuing to hold the left mouse button.
Camera Control
You can move the camera around to get into a better position to place or move items. This can be accomplished in 2 ways depending on the type of device you are playing Train Sim on.
On touch devices you can pan the camera by placing 2 fingers on the screen at the same time and dragging your hand in the direction you would like the camera to move.
On devices with a mouse you can pan the camera by holding the right click mouse button and moving the mouse in the direction you would like the camera to move.

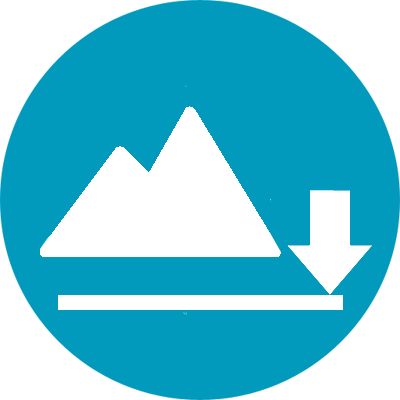
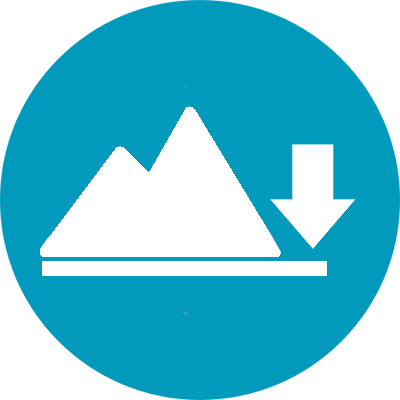
Saving & Playing

The save button has 2 functions, it will save your currently designed level & also it will switch you to play mode which allows you to drive your train in your new level.
Switch Back to Editing

Once you are finished playing or testing your level, you can always switch back to Edit mode by clicking on the Edit button located in the top left corner of the screen.
Export & Import Environments
If you would like to share your Creative environment with a friend or simply save it off your device, you can use the import & export feature.
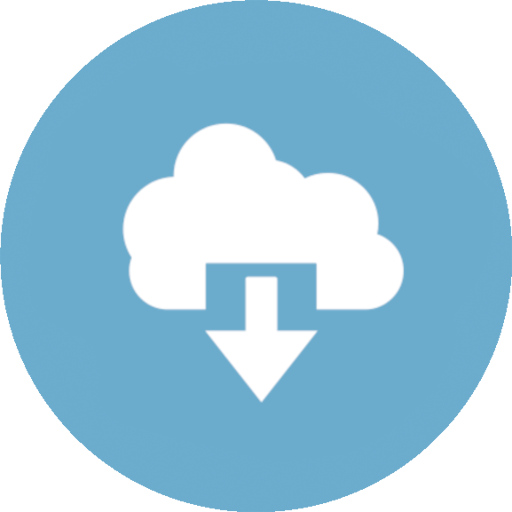
The button above will generate a code that will allow you to import or re-create a Creative environment on another device.

The button above will allow you to import a previously generated code into the current environment. (This will overwrite your current environment)